WordPress is currently the best content management system (CMS). This platform is ideal for e-commerce sites, SaaS systems, and, most notably, blog writing. This program’s plugin allows you to do anything on your websites. All of these factors combine to make WordPress not only the best CMS, but also the best website builder for web developers, writers, and designers. This article will walk you through the process of creating a WordPress blog on WordPress.com in simple and easy-to-follow steps.
Step 1: Log in
To create the WordPress blog first Login to WordPress.com, either by creating a new account or by using your Gmail or Apple ID.

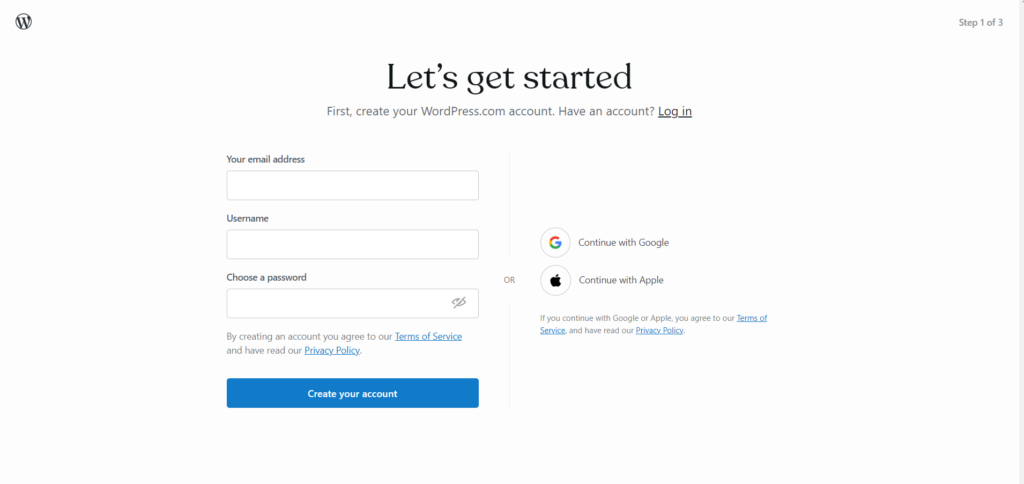
Step 2: Buy Domain or Start with Free site
After you log in to WordPress, select a domain name for your website. It offers both free and paid domains, but if you don’t want to buy from WP, you can buy it from external domain providers such as GoDaddy, HOSTINGER, and others.
If you do not wish to add a custom domain, it will come with a .wordpress.com address.
| Note: The custom domain will allow you to structure your website exactly how you want it and use plugins to their full potential. |
Step 3: Add Content
After completing step 2, you will be taken to the WordPress dashboard. Now, from the sidebar menu, select “Posts” and then “Add New.”
You’ve arrived at a blank page where you’re supposed to add your content i.e., your text.
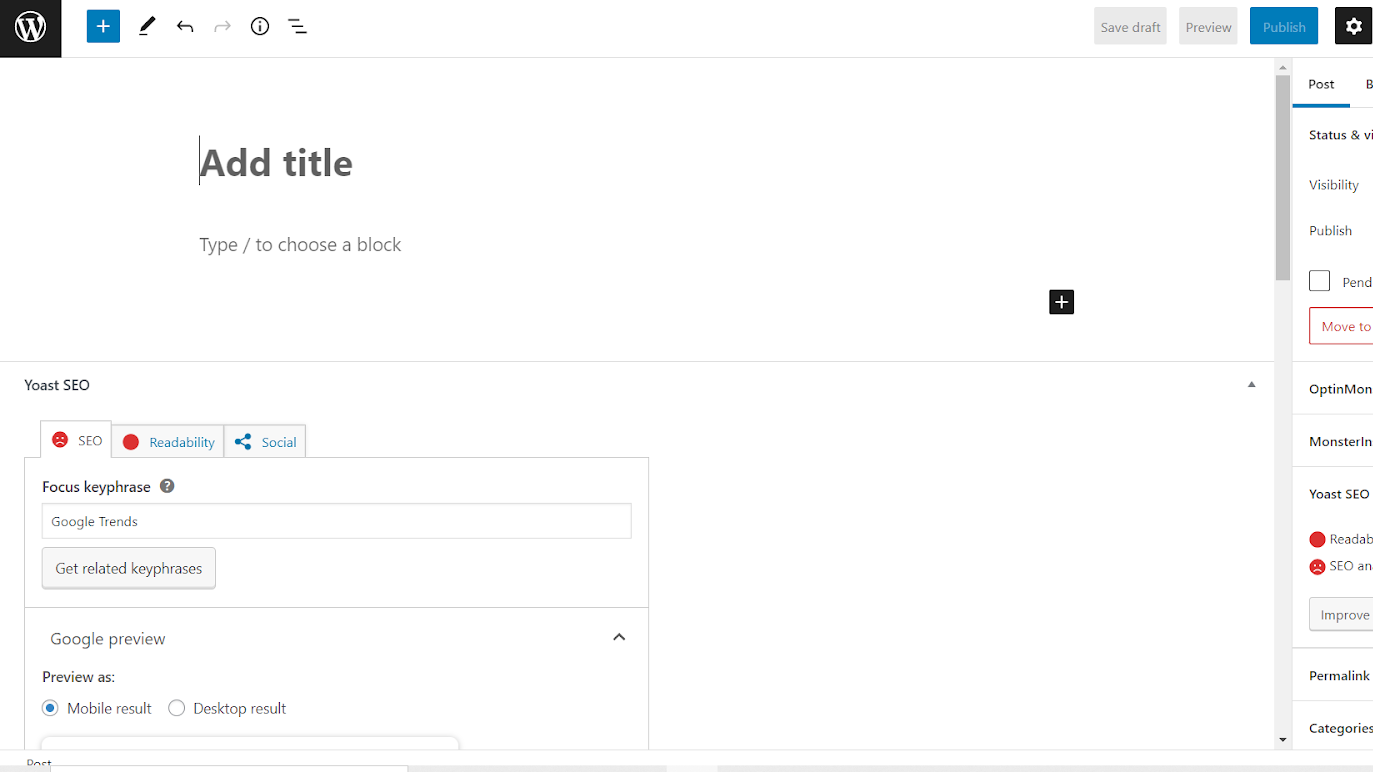
It’s now time to start adding content. You can paste your content directly into this blank page.
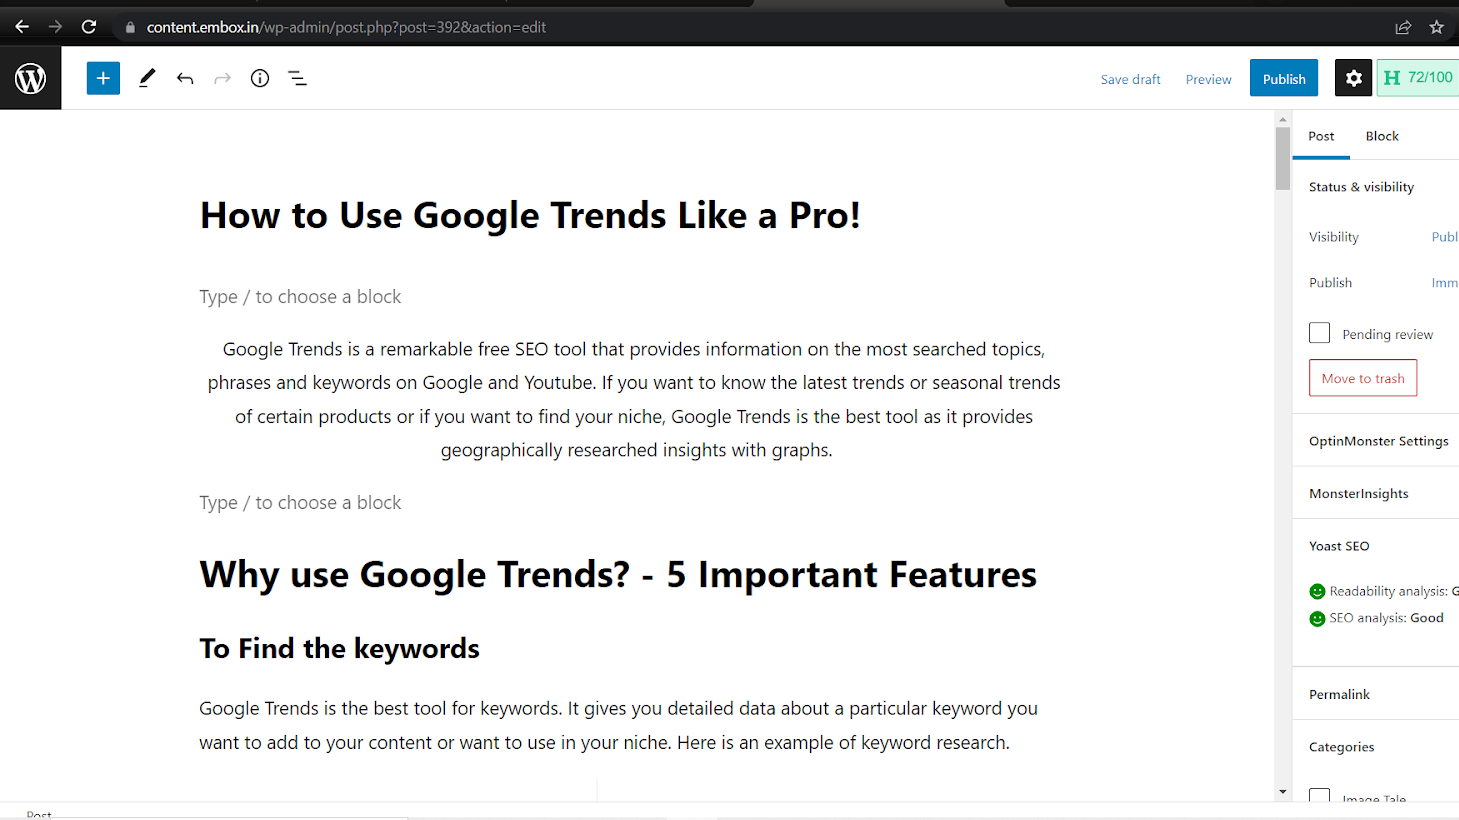
| Tip: Draft your content in Microsoft Word or Google Docs to save time formatting, editing, and writing. |
Step 4: Add Images
Remember that the majority of the information that our minds perceive is transmitted to our brain in visual form, so images play an important role in your content. To add an image in WordPress, “enter” to create a new block, then click the “+” button in the top right corner. Look for the “Image” option and select it.
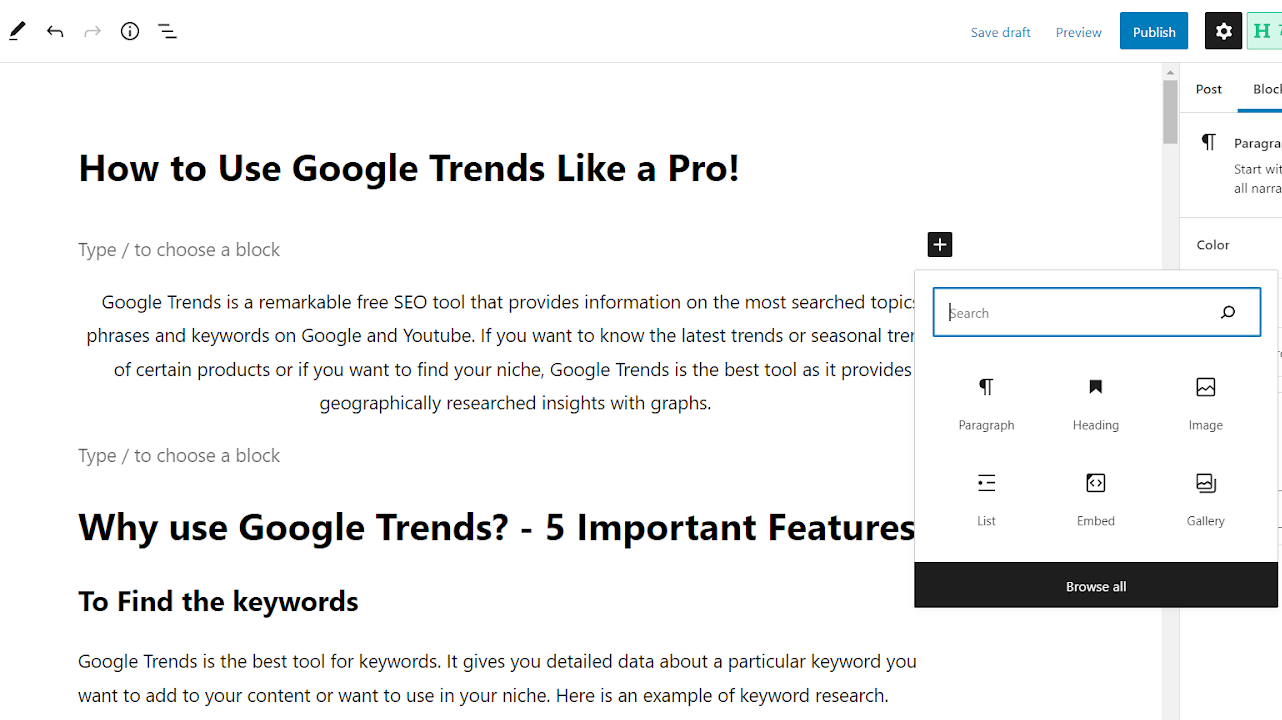
Now, upload the image. You have the option of uploading the image from your computer or the WP media library or inserting the URL.
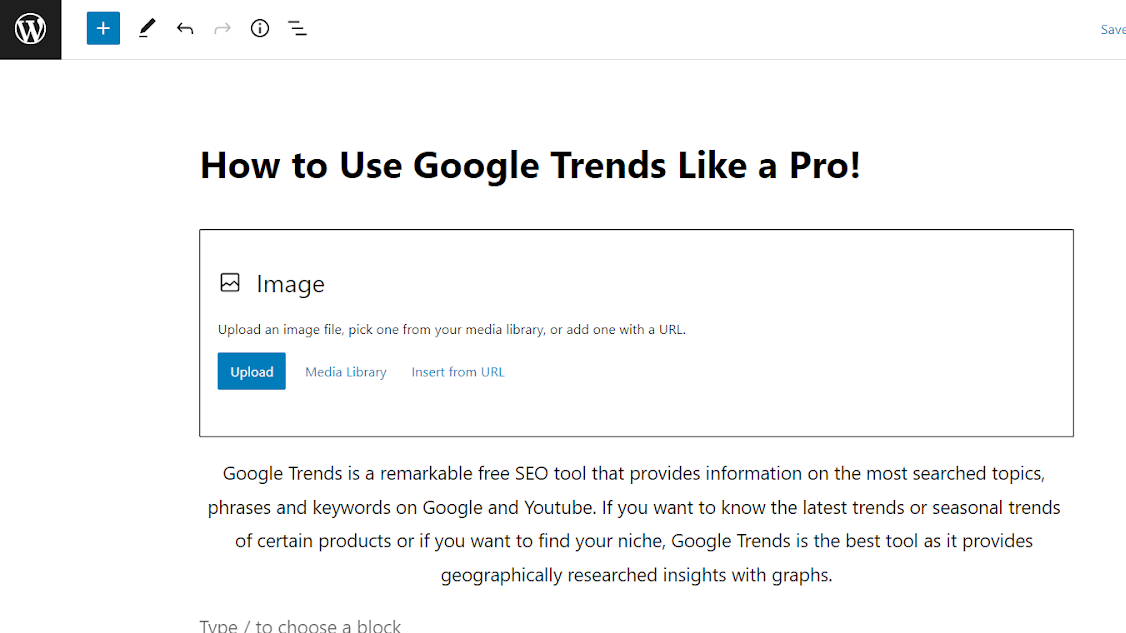
| Tip: Do not forget to add the alt text for better accessibility and Search Engine Optimization |
Step 5: Add Links
Links are used to connect one piece of content to another. Adding internal and external links will also improve the authenticity of your content. To add a hyperlink in WordPress, select the text to be hyperlinked, then click on the “link”

After clicking “link,” you can enter the URL you have selected; if you want the URL to open in a new tab, turn on the “Open in new tab” option.
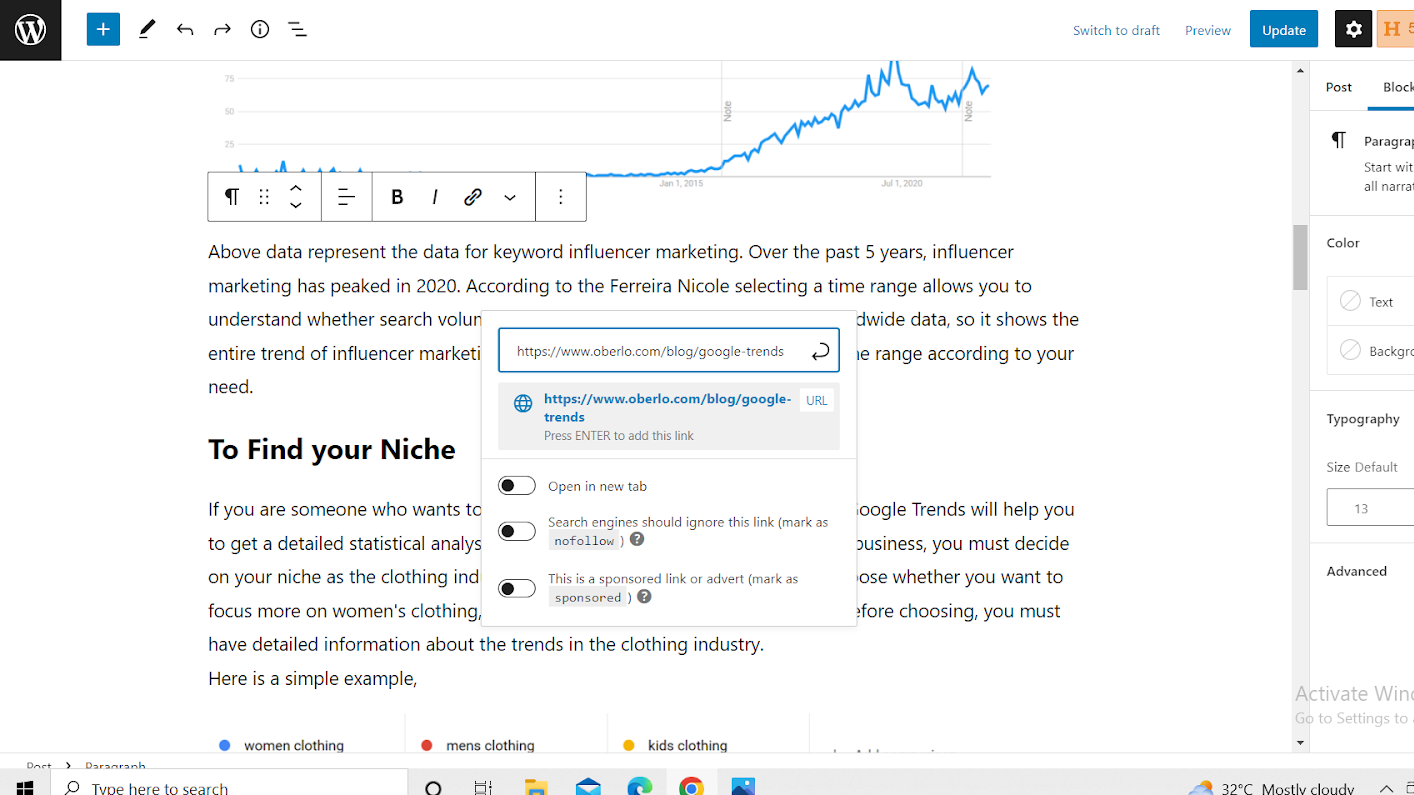
The link is now inserted in the content.

| Tip: Make sure your content contains links. |
Step 6: Formatting the Text
After you’ve finished editing and adding images and links, the final but most important stage is formatting the content, which requires you to pay attention to a variety of factors.
Headings
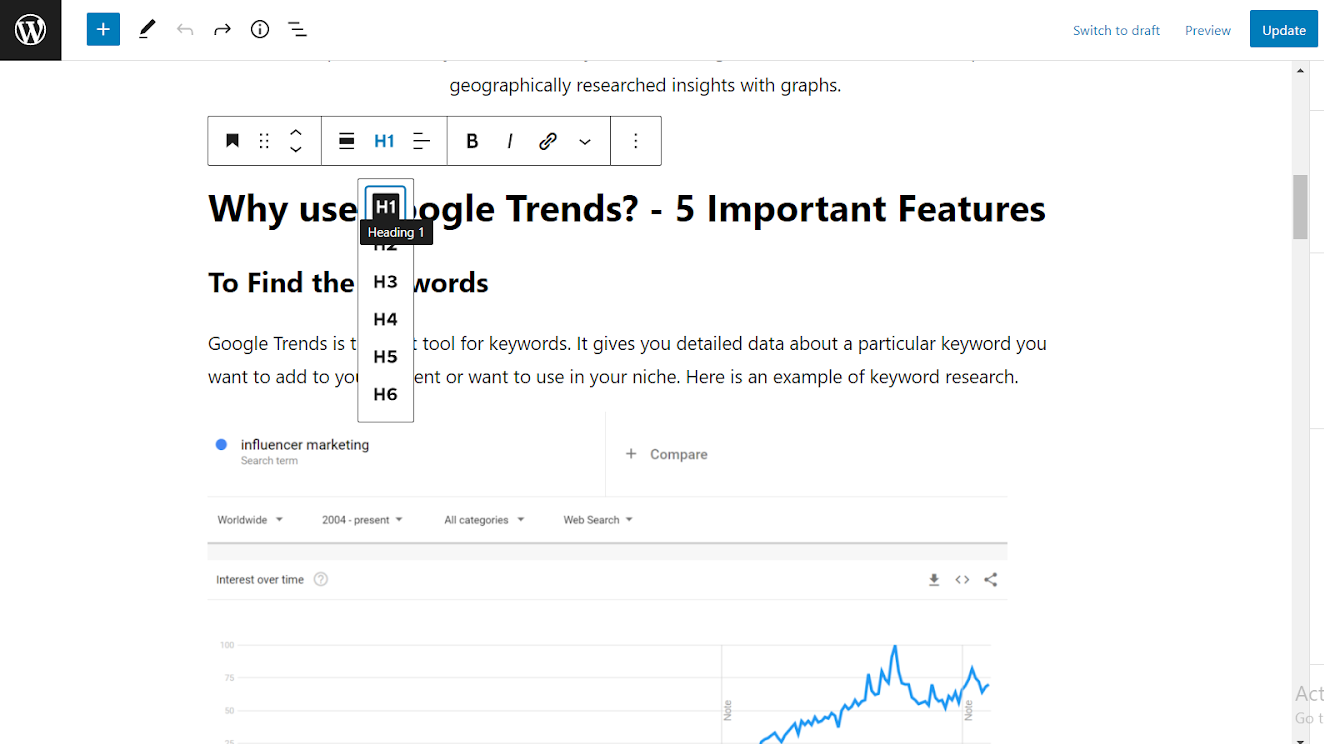
Headings help in the organization of the text. Your H1 will be the content’s title, and your H2 will be subheadings. H2 can have multiples, but there can only be one H1. The headings can range from H1 to H6. They display the content hierarchy so that readers can see what is most important and what is least important.
To select your headings, select the text and then the menu box will appear. Use the headings in accordance with your needs.
Preview the Content
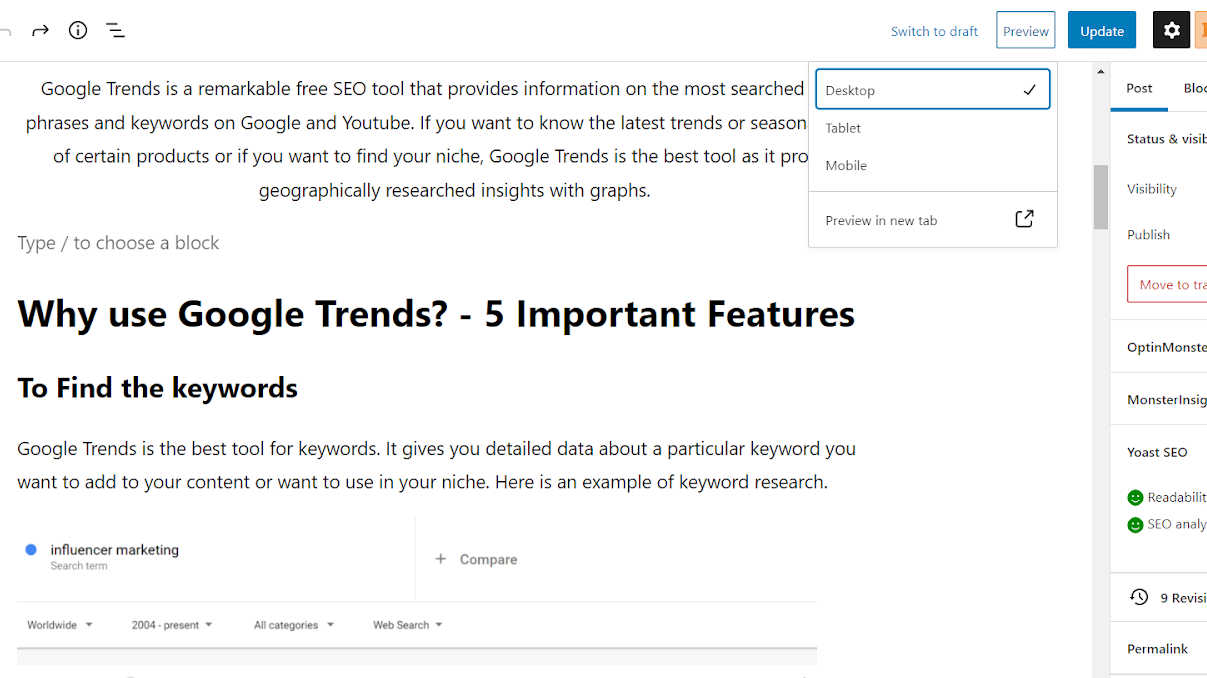
Because you are creating everything for users, it is critical to consider how your content will appear to them. Click “Preview” in the top right corner, then select whether you want to view it on a desktop, tablet, or mobile device.
Check the SEO score and Readability
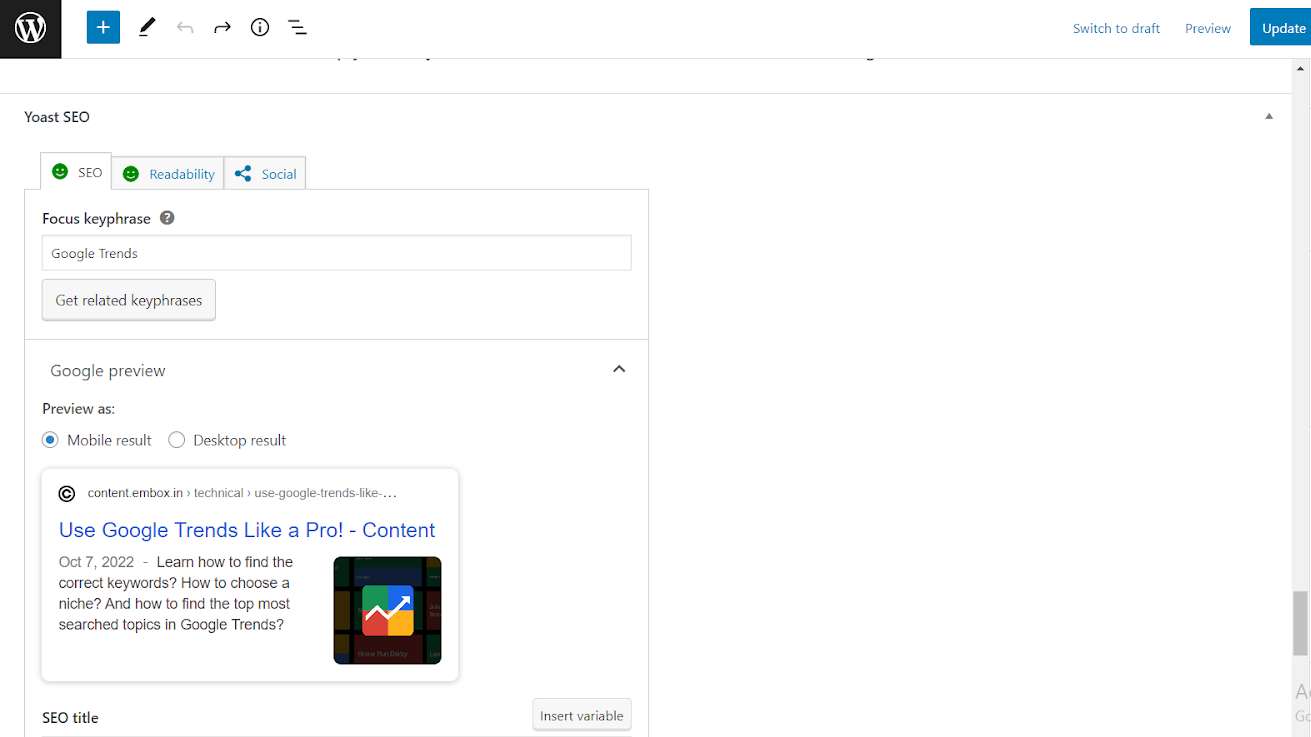
WordPress provides a number of plugins that can assist you in making your content more authentic, the most important of which are SEO and readability scores.
WP includes the Yoast SEO plugin, which assists in making content SEO friendly and improves readability.
| Note: Your blog is now ready to publish and to know more about how to create a quality blog visit here. |


